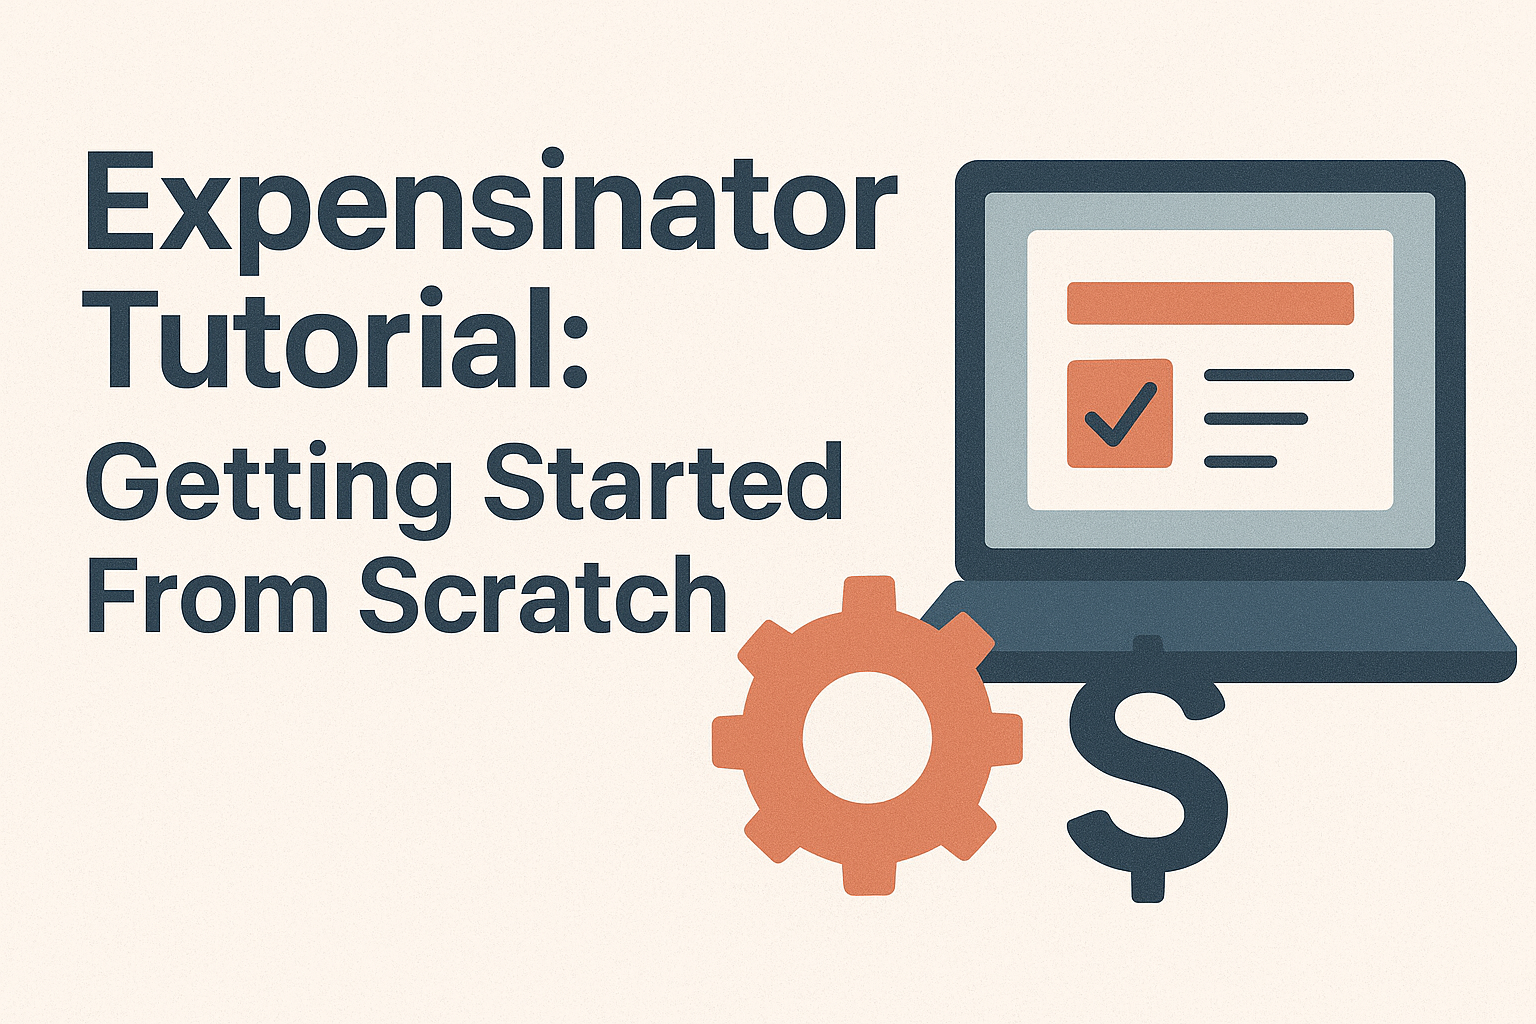
Expensinator Tutorial: Getting Started From Scratch
Introduction
Starting a new expense tracker can feel overwhelming, especially if you want to keep your financial data private. Expensinator makes it simple: no accounts, no logins, and all your data stays under your control.
This tutorial will guide you step by step to get started, whether you're an individual tracking personal spending or a freelancer managing irregular income.
Step 1: Open Expensinator
- Simply launch Expensinator in your browser - there's no installation required.
- Your data is stored locally on your device, so you're automatically in control from the start.
Step 2: Create an account.
- Account is a group of expenses you want to keep separate from other expenses. For example "Personal Expenses" or "Business Expenses".
- Click on "+ Add Account" button and a form would appear on the screen
- Fill Account name and primary Currency of the account.
- Click on "Create" button to create the account.
Step 2: Check settings
- Settings are in accessible via the gear icon in the top-right corner.
- Here you can customize:
- Currency - Add or remove currencies as needed.
- Categories - Add or remove expense categories.
- Payment Types - Customize payment methods like Cash, Credit Card, etc.
- App theme - light/dark mode
- App Language (there are 7 languages already supported)
- Data storage method - This is important. Linking one of your online cloud storage accounts (e.g., Dropbox, Google Drive) allows for seamless syncing across devices. You can also set Automatic Sync which would save a backup of your data into the selected storage on a new receipt addition or modification.
Tip: Keep categories simple at first - you can refine them as you start tracking. We have added some common categories, currencies and payment types to get you started quickly.
Step 3: Add Your First Expenses
- Open one of the newly created accounts by clicking on it from the main screen.
- Click on the "+ Add Receipt" button, or the red "+" button on the bottom-right side of the screen.
- Fill in the required fields:
- Business Name - Where you made the purchase
- Date When the expense occurred. This is defaulted to today’s date but can be changed.
- Amount Enter the cost
- Currency - It's defaulted to the account currency but can be changed per expense
- Category Choose from your list of categories
- Payment Type Select how you paid (Cash, Credit Card, etc.)
- Description Add details for clarity
- Click Save, and your expense is securely stored locally.
Tip: Over time, if you have regular expenses from the same business, Expensinator will suggest autocomplete of the business name. Once the business name is selected other fields like Category, Currency and Payment Type would be auto-filled based on last entered expense for that business. Only field which would need to be filled in that case is the Amount
Step 4: Review Your Spending
- Click on the pie chart icon on the top-right side of the account screen.
- In the screen you can see your expenses breakdown by category or spread over time.
- There is also a way to filter the data by date range using the "Date Range Filter" button on the top-left side of the screen.
Step 5: Backup Your Data
Even though your data is private and local, it's a good idea to create backups:
On the Account list screen on each account card there is an "Export" button. On clicking it the Account would be stored in the in the selected storage engine (from the settings) as a JSON file. This ensures you won't lose your expense history if you switch devices or browsers.
Tips for New Users
- Start small: Begin with a few key categories and add more as needed.
- Track consistently: Regularly input expenses to get the most accurate insights.
- Use analytics: Check trends weekly or monthly to adjust your budget.
- Keep backups: Safety first - it's quick and easy.
Conclusion
Getting started with Expensinator is straightforward and secure. You can track your spending, manage budgets, and visualize your expenses - all while keeping your data private.
Start recording your expenses with Expensinator WebApp Open Expensinator today and start tracking your expenses the private, easy way!